
Before Ultraflo® hemihydrate liquid floor screed is poured, the building should be weather tight with the roof on and all doors and windows installed. Any openings which are not closed up should be made weather proof with polythene.
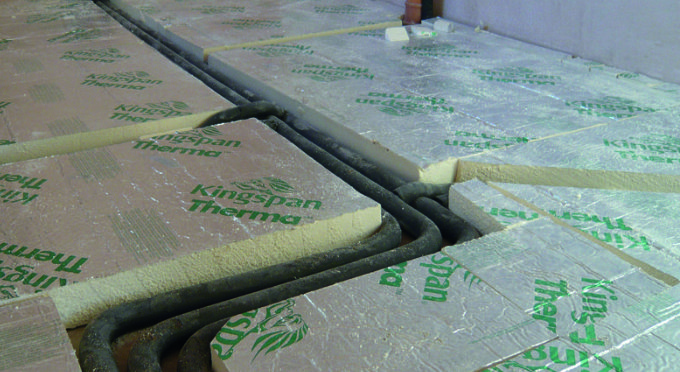
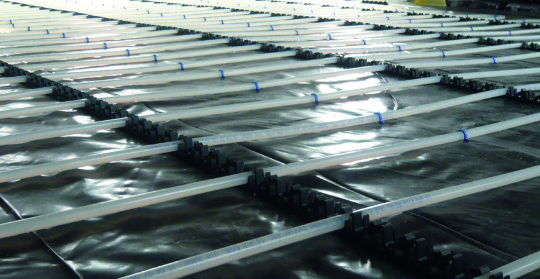
Place the insulation in 2 layers. Place the first layer between any service pipes, ensuring it is laid flat and in solid contact with the subfloor throughout. If necessary, fixings should be used to hold the insulation in place, avoiding rocking.
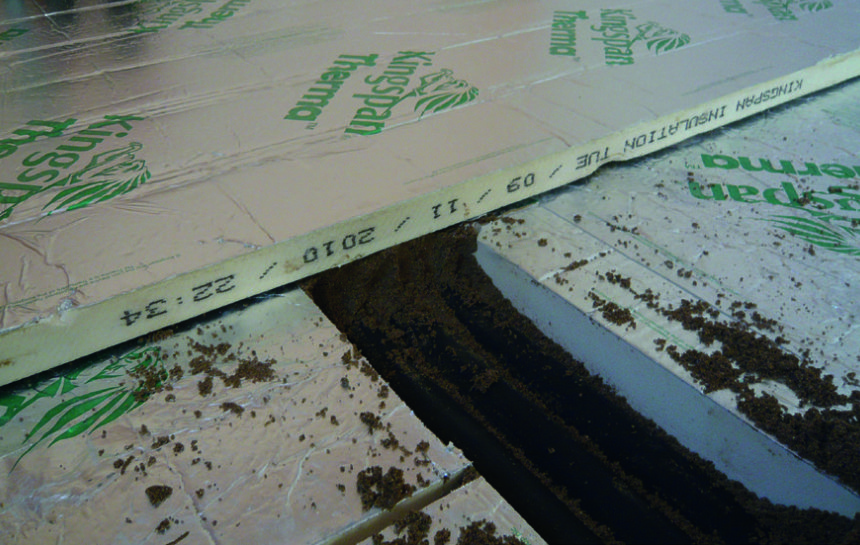
Fill any voids around the pipes, with a weak sand:cement mix and level off. Then place the 2nd layer of insulation over the 1st layer, ensuring it remains flat, with no rocking.
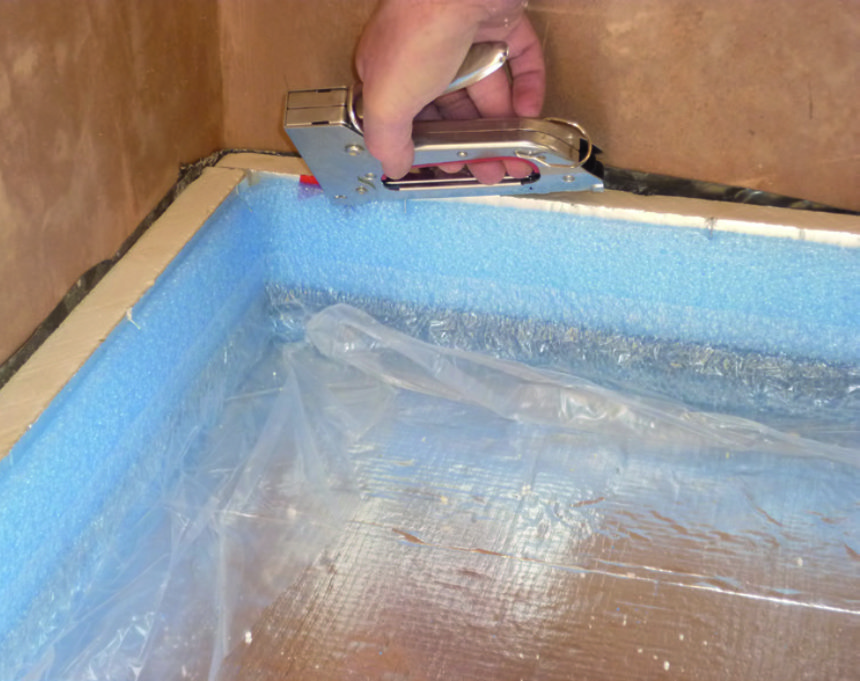
Install the edging strip around all walls, taking care to ensure it is neatly placed into all corners at 90 degrees. Tack the edging strip to the walls using a staple gun as required to hold it in place.
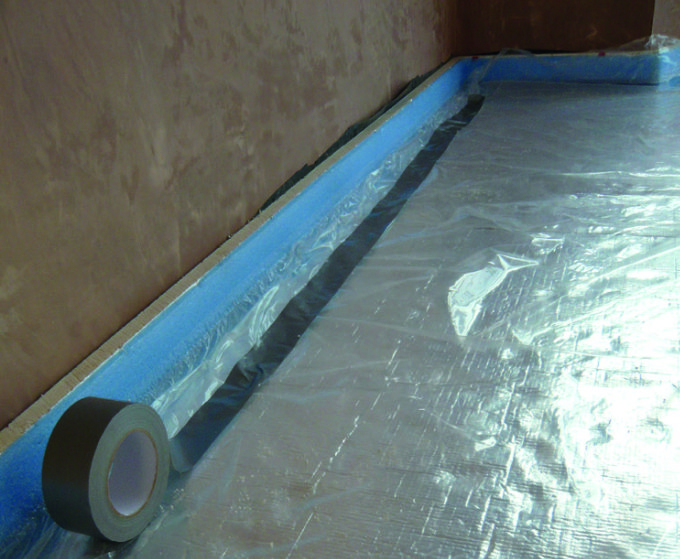
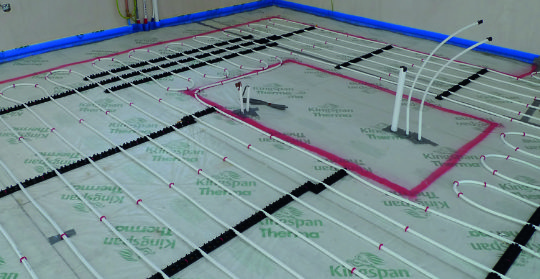
Place 500 gauge plastic over the top of the insulation ensuring it is pulled tight with no creases. Overlap joints a minimum of 100mm and tape joints. Tape the 500 gauge membrane to the plastic skirt of the edging strip.
Install the underfloor heating pipes, ensuring they are fixed down every 400mm along the length of the pipe and more frequently on bends.
Fill the underfloor heating pipes with water.
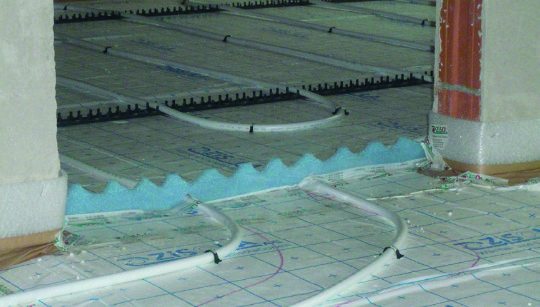
Install expansion joints across doorways, where thin corridors open out to larger spaces and where the aspect ratio exceeds 1:6 (for further advice contact our technical Team). Cut away notches on the underside of the joint to allow it to sit level over the UFH pipes.
Complete a final depth check to ensure there is at least 25mm cover over all pipes, paying particular attention to the corners of rooms.
Brush or vacuum out all debris from the surface of the plastic. Any material left will float once the screed is poured and this will result in blemishes on the surface once the screed has hardened. Inspect the whole tanking system for any tears or untapped joints, makegood ready for screed to be poured.
Only approved contractors can lay Ultraflo® The contractor will arrive on site, set up the pump, check levels and agree a datum level with you. Once the mixer truck arrives with the screed the layers will commence pumping the screed. 6 cubic metres of Ultraflo® can be pumped in approximately 30 minutes. The screed is then dappled in two directions to level the surface and then left to dry.
Immediately after application and until the screed has hardened, keep windows and doors closed for 24 hours to protect the surface from frost, direct sunlight, draughts and water ingress.
Refer to the Ultraflo® Aftercare Guide for information on drying, priming and floor coverings etc.
| Cookie | Duration | Description |
|---|---|---|
| cookielawinfo-checkbox-analytics | 11 months | This cookie is set by GDPR Cookie Consent plugin. The cookie is used to store the user consent for the cookies in the category "Analytics". |
| cookielawinfo-checkbox-functional | 11 months | The cookie is set by GDPR cookie consent to record the user consent for the cookies in the category "Functional". |
| cookielawinfo-checkbox-necessary | 11 months | This cookie is set by GDPR Cookie Consent plugin. The cookies is used to store the user consent for the cookies in the category "Necessary". |
| cookielawinfo-checkbox-others | 11 months | This cookie is set by GDPR Cookie Consent plugin. The cookie is used to store the user consent for the cookies in the category "Other. |
| cookielawinfo-checkbox-performance | 11 months | This cookie is set by GDPR Cookie Consent plugin. The cookie is used to store the user consent for the cookies in the category "Performance". |
| viewed_cookie_policy | 11 months | The cookie is set by the GDPR Cookie Consent plugin and is used to store whether or not user has consented to the use of cookies. It does not store any personal data. |